Thursday, December 13, 2012

Smoked Meat: Part 2

Talk about a cliff-hanger! Here, some five months later, is the result of the great smoked meat experiment.

As you may recall, this summer I was fiddling with brisket trying to find the right recipe to properly cure a hunk of humble cow meat into a glistening, salty smoked meat. And, it worked! Here are the glorious pics to prove it.


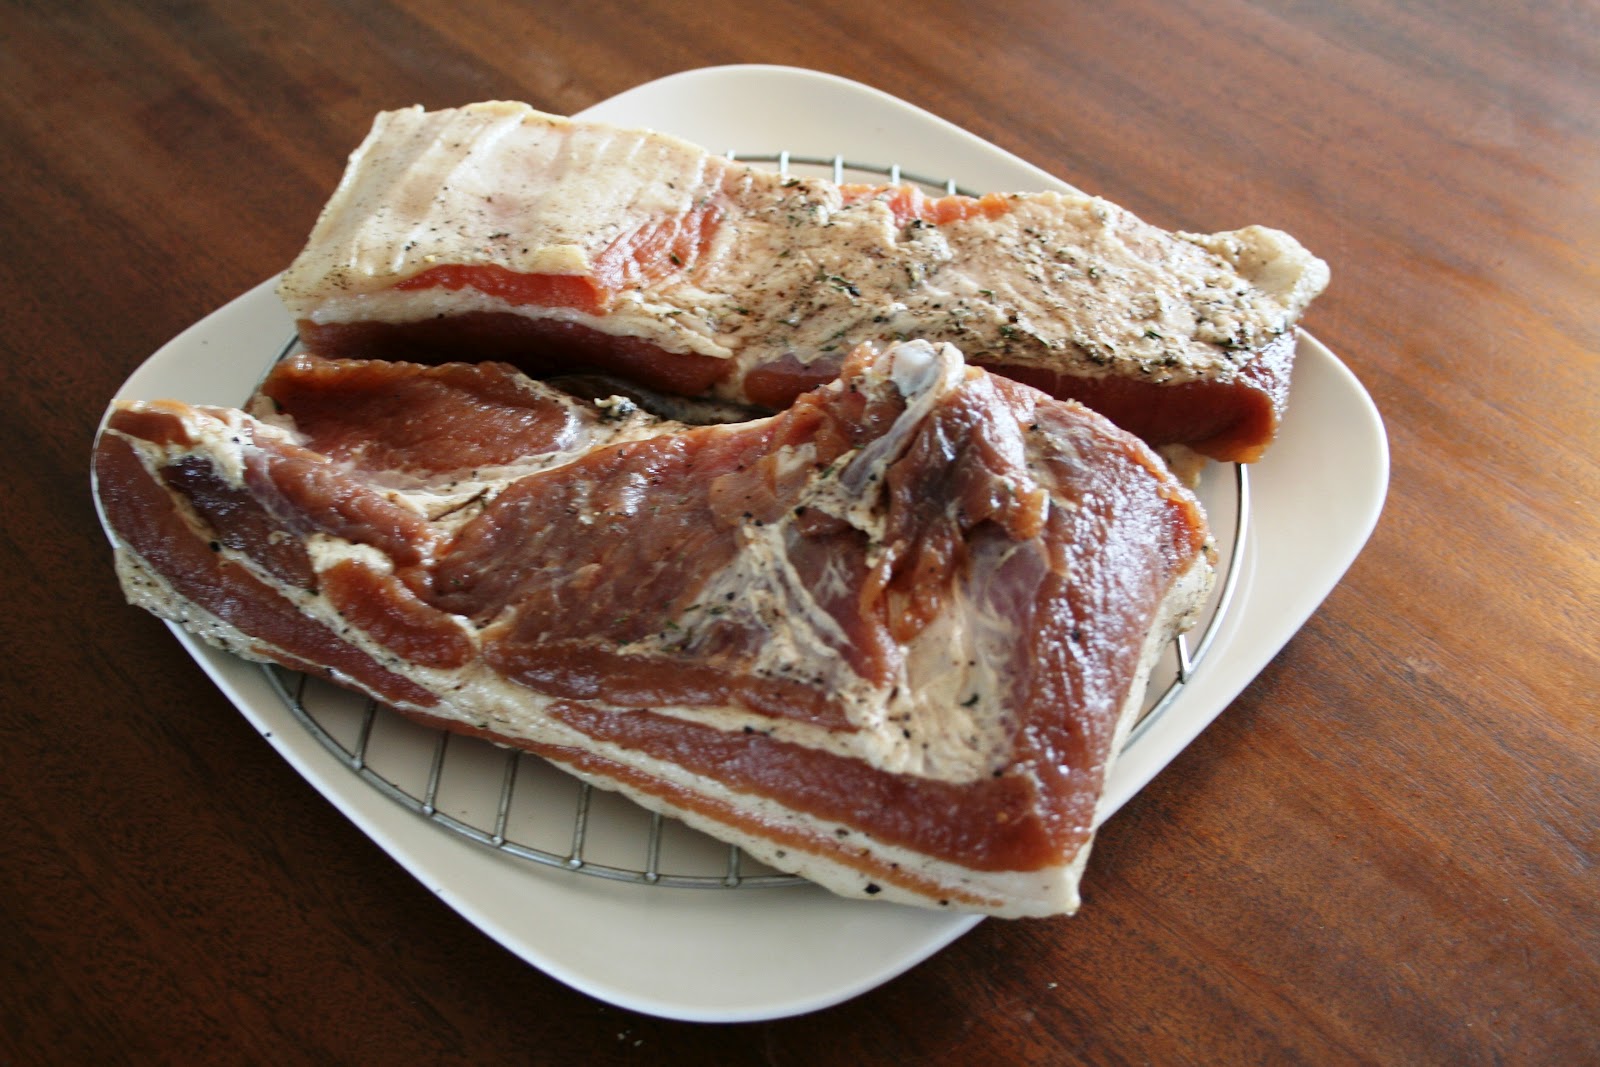
Here's the brisket, just before going in the Smoky Mountain Cooker (and two weeks after sitting in a cure in my basement fridge). 


Here it is, ready to undergo its glorious transformation. I smoked it for seven hours at about 200 degrees Celsius. Sounds time-consuming, I know, but I actually prefer longer smokes. The longer cook time means that small fluctuations in heat have less impact on the final product (unlike a shorter cook, like smoked salmon, where 15 minutes of a really hot flare-up could dry out the fish). 
 

I opted for maple this time around. Mostly because it's local, but also because I'm a patriot at heart. I usually toss two chunks in at the beginning (when the uncooked meat will soak up the smoke best), but in this case I added just one -- cause it was big.  (I also added some berbere that I picked up in Ethiopia last year to the spices included in the cure, because I'm sentimental that way.) 


This pic and the one below were taken at about the half-way mark I think. I know this because there's been some tell-tale evidence of sampling on the business end of the brisket, which usually happens when curious neighbours saunter by lured in by the wafts of spicy smoke. 


And here we are at Hour 7. It's dark and smoky -- with that characteristic red colour. Yum. 


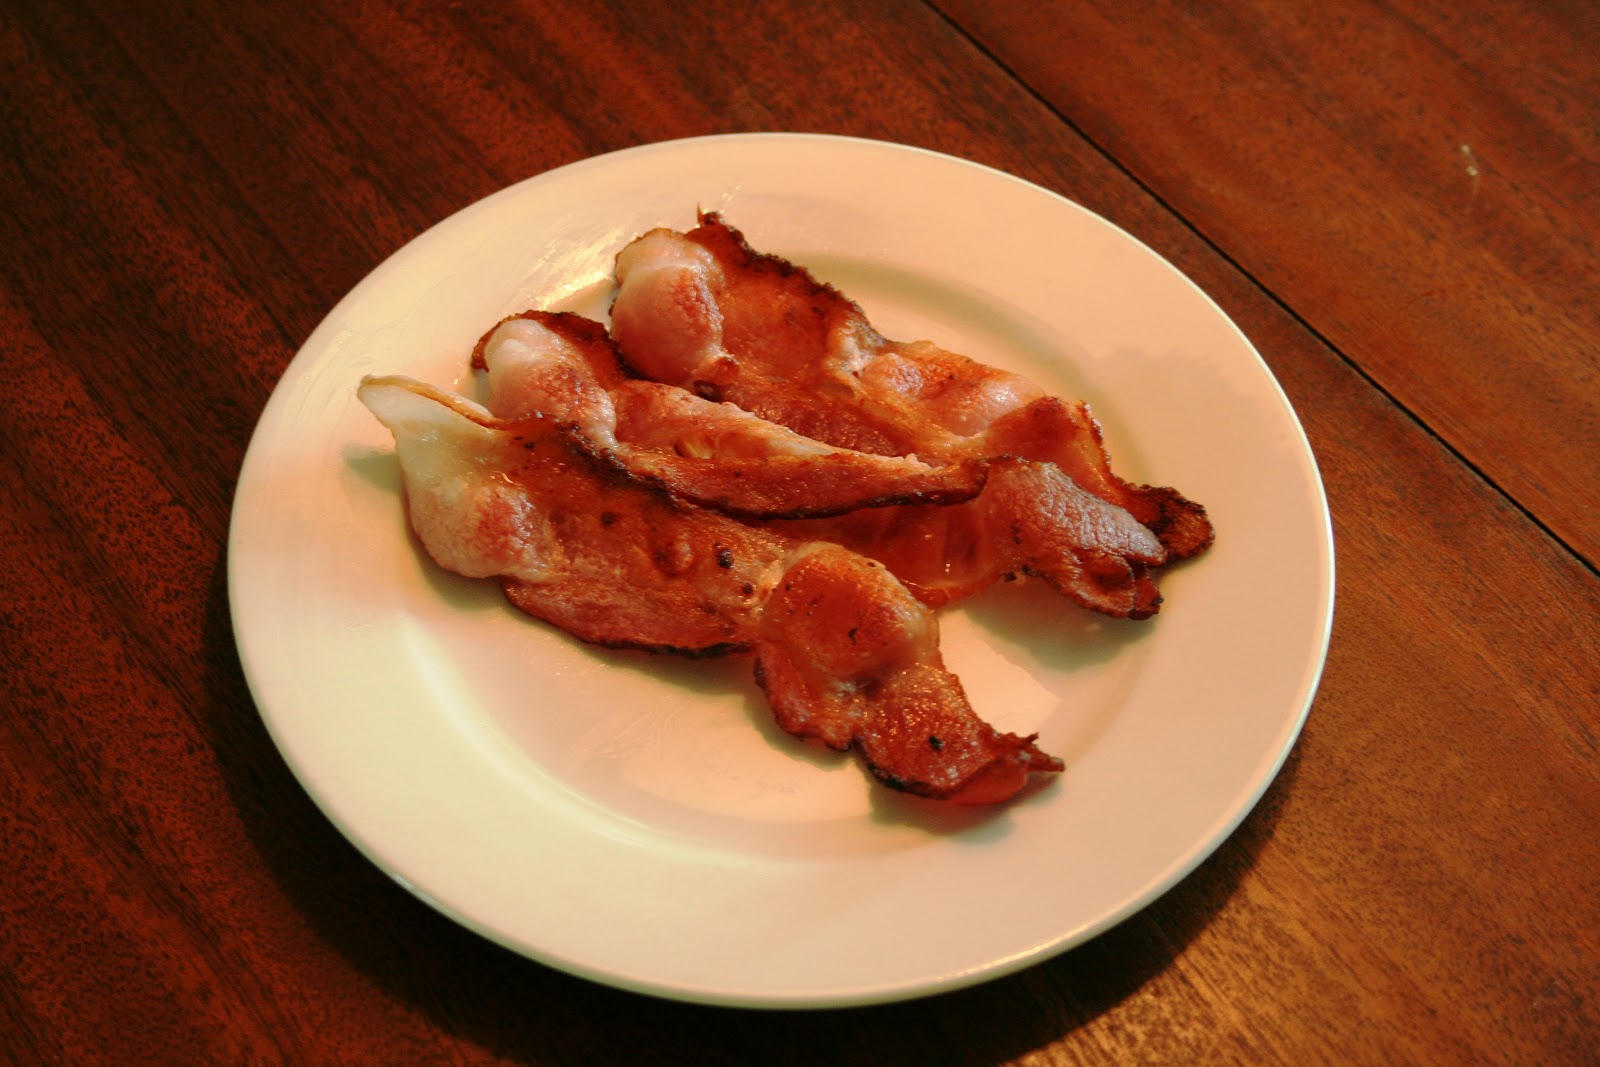
After letting it sit for an hour or so, I steamed it for another hour (yes -- there's another step). I recommend not skipping the steaming if you try this out. It's the traditional way to do it and infuses some much-needed moisture back into the meat. Below are some blurry photos of the finished product. Sorry, but my hands were trembling in anticipation.


Voila. This was definitely the best attempt yet at traditional Montreal style smoked meat. Well-marbled, fatty, and succulent. It was so good, I'm preparing another as we speak to serve as Christmas presents this year. Give the gift of smoke!  
 

Wednesday, July 11, 2012

What are you smoking? Part Two

Howdy. Here's an update on my smoky goings-on. As you can see, the pork belly (all 10 pounds of it) cured wonderfully after five or so days sitting in a mix of spices and herbs.....


The pooled fluid you see here is the excess moisture drawn out by the salt and sugar.


At this point it is now, in effect, bacon. All you really have to do is rinse it well, slice and eat. To gauge it's saltiness I trimmed a piece off, fried it up and gave it to my wife -- who is unerringly honest above all. She proclaimed it too salty, so I soaked it for an hour or so in cold water.

Next up, I rubbed some cracked pepper corn son the four pieces of bacon and placed them in the smoker at about 200 F, along with some chunks of cherry and hickory. 


Note that I left the skin on the bacon (see the piece in the forefront below). I trim this "rind" off later and add it to sauces, beans or chili.


After about 90 minutes on the smoker here's the (almost) finished product.


All that's left is the slicing, which I do on a home slicer I acquired recently. It seems like a small thing, but slicing it with even the sharpest knife can be frustrating and yield uneven slices. 


That's it for now. I'll post an update on my Top Secret Smoked Meat Project in the next couple of days!

Wednesday, June 27, 2012

What are you smoking? Bacon and smoked meat

My original plan a couple of weekends ago was to get some bacon and smoked meat ready for July 1 (or Canada Day as we Canadians call it in Canada, where I live). But then my wife went and had our baby early (Charles aka Charlie, was 7 lbs 6 ounces. And thank you for asking) which scuppered my meat plans. But a handsome healthy baby boy, right? Yay!

Now that he's a week or so old it's time for me to get back to business, which means whipping up some bacon and smoked meat. Each take a while to cure (5-7 days for bacon, two weeks for smoked meat) so I figured I'd offer up a step-by-step process here on the blog.

I know I already featured my bacon recipe here, but I feel like I missed some elements in the process so I'm going to do it again. Plus, I've started selling it by the pound so if you can't stop drooling when you read these posts you know where to go to get your fix. (i.e., Me.)

Here's the curing ingredients (which can be found here) all ready to go...


Here's the raw pork belly (each piece is about 1 kilogram, or two pounds)...


And here's the belly rubbed with the cure ingredients....


And yes, those are juniper berries. One day I'm going to roll up one of these and dry it into pancetta.....if my wife would let me that is. 

Now on to the Mickey Mantle of my smoking repertoire, smoked meat. It took me a few tries to get the hang of this, but man is it worth the effort. Last fall I took some of this on a camping trip in Eastern Ontario and the guys I was with were nutty for it. Even one Montrealer, who declared it better than Schwartz's (take that Celine!).

Anyways, it all starts with the cure/spices. In this case I deployed a mix of pepper, coriander, mustard seed, chili flakes, dill weed, celery seed, sugar, and some berbere (a traditional spice that I picked up when I was in Ethiopia last Fall which I seem to add to everything these days).


I then took the spice rub and mashed it into the brisket, in this case a 12-13 pound whopper.


I then slipped in the fridge in my basement, where it with sit for no less than 14 days, after which it will re-emerge Phoenix-like, into a glorious, luxurious, succulent hunk of meat.

Here's something that's worth saying about the lure of smoking your own meats: it's cheap. That brisket cost me $50, about $9/kg, which is a deal compared to the store-bought slush they try and pass off as smoked meat these days. Even factoring in the shrinkage that occurs in the smoking process, there'll be enough meat on this to make a couple of dozen sandwiches (or a camp full of hung-over men). 

I'll check in one these in the coming week or so and update you on how they're doing. 
  

Friday, June 8, 2012

The Cubano sandwich goes uptown

So what do you do when you have five delicious smoked pork tenderloins and not enough mouths to finish them off? Well, you give some away to friends and family -- then you think up a clever ways to use the leftovers. In my case, this means a twist on a classic street food: the Cubano sandwich.

A Cubano is usually made up of a couple of slices of pork loin, some ham, cheese, and pickles with mustard on a fresh white bun. Yah - it's tasty, but given its All-Star ingredients (two types of pork man!) I always felt it under-performed a bit. With one pork loin leftover from my experiment a few weeks back sitting in the freezer I figured I'd use it as the base for my own spin on the Cubano classic.  

Instead of ham I substituted pancetta, which I cooked up in a grill pan:   
   

Stepping in for the pickle slices was some raddichio, which I grilled as well to take away some of its bitterness.


Next I whipped up  a quick garlic mayo and slapped it all together in a fresh whole-wheat bun. Add a salad (my wife's idea) and a rhubarb soda (my wife's good idea) and there you have it: the Uptown Cubano:


Oops -- forgot the token pickles on the side. Let's try that again.... 


I demand my close-up!:


Humility aside (y'know, because I'm known far and wide for being humble) this is a really, really good sandwich: it's succulent, salty, sweet, garlicky --- and I even forgot to add the avocado which my wife insists would have made this nosh a true All-Star. The Steve Nash of sammys!

Here's the recipe:

Uptown Cubano Sandwich 

One crusty soft white(ish) bun
Three slices of smoked pork tenderloin (recipe here)
Two slices of crispy pancetta
Sliced radicchio
One ripe avocado 
Olive oil
Salt and pepper
1- 2 Garlic cloves (to taste)
Mayonnaise
Pickles

1) Make garlic mayo: chop garlic very fine and mix with about 1/4 cup mayonnaise. Let site for 15 min.
2) Grill pancetta on a grill pan or BBQ; set aside.
3) Slice Radicchio (including core) into 1/2 inch slices. Brush with olive oil and sprinkle with a little salt and pepper.
4) Grill on a grill pan or BBQ until soft and showing grill marks.
5) Slice avocado.
6) Sandwich assembly:
Slice the buns, spread on garlic mayo to taste, add pork, pancetta, radicchio and avocado.
Serve with a pickle on the side, and a lightly dressed green salad.


Thursday, June 7, 2012

Making bacon


One of the best things about owning a smoker is that after a while you start to feel like you're wielding skills from a lost age -- an era when people actually made the food they ate. For the first year I owned my smoker I played it pretty safe, mostly sticking to salmon (or trout) and ribs (pork, then beef). The next summer I started to get bored and ventured into pulled pork and smoked meat (which was a monumental bust). Then while drinking beer and loitering around the smoker one day a buddy suggested the Holy Grail of smoked meat: bacon. Long a humble staple of the American diet, it has endured more than a century of fickle culinary trends, only to emerge as something of a reliable heavyweight in the kitchens of the nation.

I love bacon, but have been underwhelmed with a lot of the store-bought variety: it's either too-salty, not salty enough, not smoky enough, or worse, thin and papery - you know, with that cruddy crepe paper texture. So, I sourced some pork belly and tried making some. And man, did it suck! It was way too salty and even though you could taste the smoke, it looked bland and gray when cooked. Like a pork chop. 

Humbled, I left this one alone for a while.

Then last year I started rooting around on the internet to figure out what the hell I did wrong. If cavemen and 'mountain folk' had been making their own bacon for generations why couldn't I? Apparently it came down to the curing process. You see, I was trying to cure the bacon without using a curing agent, in this case a curing salt. This was leaving me open to bacteria (the nitrates added to the salt ward these off) and robbing my bacon of that rich red colour that we all associate with it. So, I stepped back up to the plate with a recipe inspired by the great Michael Ruhlman. I aced it this time. Proof below.


These photos show the anti-biotic free pork belly I bought after about five or six days of being cured in a mixture of kosher salt, pink curing salt (I used Morton's Tender Quick), black pepper, bay leaves, maple syrup, garlic cloves, fresh thyme, coriander and juniper berries. I know -- the juniper berries sound a little esoteric, but if you can find them, use them. They infuse the belly with a fragrant almost boozy aroma that will set it apart from any other bacon you have ever consumed.


As with any curing or brining process the beauty is that you improvise. What? No juniper bush in your backyard? You poor bastard -- just throw in some blueberries instead. No thyme or coriander? Try tarragon or oregano. It all gets balanced off against the other ingredients, and the smoke, contributing to a complex taste that will stand heads-and-shoulders above that plastic-encased slimey stuff in your grocery store aisle.  


So, once the curing process was complete I removed the belly from the bag it was in and rinsed it off. Here's what it looked like:


Before I started smoking I sliced a chunk off and fried it up and gave it a taste. It was a bit salty for my taste, so i soaked in a bowl of cold water for an hour or two. (You can blanch it with hot water as well.) 

Then I fired up the smoker to a steady 200 F and slid these puppies in for 90 minutes or so, with some cherry wood and hickory. This is what the belly looked like after:


I know -- pretty great huh? But the proof is in the frying/eating right? So after I trimmed some of the fat cap off, I sliced some up (using my meat slicer; which is pretty great to have in instances like this) and slapped them in the frying pan.


Sorry. This is a tad over-exposed. I make it up in the sweet bacon pics below. 

What can I say? It turned out great. All the smokey sweetness of regular bacon but with unmistakable undertones of the juniper berries, garlic, syrup and pepper. I hereby declare it The Best Bacon Ever!!!


Feeling inspired, I whipped up a bacon and tomato sammy. Or *ahem* The Best Bacon and Tomato Sandwich Ever!!!! Forsooth, bear witness:  


All and all, a great little project that I will likely revisit come Christmas time. Why? Cause bacon + presents = The Best Christmas Ever!!!!!


Monday, May 14, 2012

Smoked Pork Tenderloin (or a four-step process to converting your vegetarian friends into unapologetic meat-lovers)

I usually approach new recipes for ye olde smoker with an ounce of caution, in part because I have so many good ones in rotation already. But when I came across this unique one for smoked pork loin in Extreme Barbeque a couple of months ago, I'll admit my interest was piqued. 

Here's the thing: I typically don't stray too far from lower-end, fatty cuts of meat when it comes to smoking. I've tried leaner cuts a couple of times (baby back ribs and a rack of lamb) and the results were pretty lackluster. not sure if it's something about the amount of fat, but in general the pricier the cut of meat the less tasty it seems to turn out. Plus, there's sort of an unspoken ethos among smokers that is all about elevating humbler "lower" cuts of meat into kick-ass creations.  So starting with a blue-ribbon piece of meat seems like a massive cheat.

In this case I made an exception, in part because this recipe looked challenging - and in part because there was a great deal on pork loin at my local grocery store. Warning: this recipe is pretty challenging. It involves a fairly time-consuming four-step process that will probably scare most novices away. But it's worth the work.

I have given this recipe a spin twice this year (thrice if you count some pork chops I used) and it has been met with success and high-fives all around. The first time I smoked five pork loins, and if my curious, hungry neighbours can be considered good judges, this one immediately earned a spot on my summer rotation. One pal -- a committed vegetarian -- said it was the single best thing he had eaten in 20 years.

Before you start make sure you give yourself 24 hours. That's the time frame you'll need to complete the brining, rubbing, smoking and glazing that this recipe entails. Sounds time-consuming, I know, but as with all good smoked food most of the time is the meat just sitting in a fridge, brining/curing. That's definitely the case with this recipe.

Step One: Brine-baby-brine.

Immerse your pork loins in a large bowl of cold water that includes equal parts brown sugar and kosher salt or sea salt. Add extra seasoning as desired (here, I've tossed in an onion, a few garlic cloves, some peppercorns and a few bay leaves. celery is good too.) Pop the bowl in your fridge overnight.


Step Two: There's the rub.

Take the meat out of the brine and pat dry. It'll look like this: 


Then apply a dry rub that consists two tbsps each of: black pepper, white pepper, onion powder, garlic powder, paprika and chili powder. If you don't like it spicy reduce the amount of chili powder and replace it with some sugar (white or brown). They should now look like this:


Step Three: Smoke 'em.

I put these in for about 2.5 hours at a general temp of about 200 F. I opted for some cherry and some apple wood for the smoke.


Step Four: Glazing over.

I usually avoid glazes or bastes, but this one is an integral part of the final product with fruity flavours that set off the spice of the rub and the saltiness of the brine really well. Just heat up 1/2 cup fruit jelly (white grape, peach or apple will do) in a pot with an equal amount of BBQ sauce (or ketchup, really), two tbsps of cider vinegar and the juice from 1/2 a lemon.

When the cooking time is about up, slather this mix over the pork -- three to for times each side should do.


Here's the final product fresh out of the cooker. (The rock glass of whiskey is optional -- though comes highly recommended.)


And here it is, sliced and ready to serve.


I can't speak highly enough about this recipe. It's great the first night as a main course, and makes for a great sandwich the next day -- especially if you get a little fancy. But more on that in another post. I think the secret here is the brining, which gives the pork a sweet, sugary tenderness unlike any other.

If you try this out, let me know what you thought in the comments below.